Creating games in MoonBit with Wasm4
If you have been visiting mooncakes or our gallery, you may have noticed that we've published a package called wasm4 and a new demo called Wasm4 Snake. Today I'd like to introduce you to this amazing game development framework.
What is Wasm4
WASM-4 is a framework for building retro games using WebAssembly. It provides a gaming console with 160 x 160px, and less then 64K memory. Using WebAssembly, the new web standard of an instruction set, the game is able to be run on all the Web browser and even some low-end devices, and any language that compiles to WebAssembly can be used to develop the game, including MoonBit. We are proud to announce the MoonBit Wasm4 SDK.
How to develop
Our gallery supports live reload where you can have a taste via our cloud IDE.
For developing locally, we expect Node.js and MoonBit toolchain to be downloaded.
Creating project
We first create a new project with MoonBit in the current directory, and we install the wasm4 with npm
moon new --user moonbit --name demo --path .
npm install -D wasm4
We will have the following directory structure (node_modules not included):
.
├── .gitignore
├── demo.mbt
├── demo_test.mbt
├── moon.mod.json
├── moon.pkg.json
├── package-lock.json
├── package.json
├── README.md
└── top.mbt
The moon.mod.json provides the definition for the whole project, and the moon.pkg.json provides the definition for each package. The top.mbt will be the main entrance of the game, and we can write helper functions in the lib, while the hello_test.mbt provides a blackbox testing example. We will not be using lib for this example.
Adding Wasm4 dependency
We also need to add the dependency moonbitlang/wasm4:
moon update && moon add moonbitlang/wasm4This will result in the following moon.mod.json at the time of writing:
{
  "name": "moonbit/demo",
  "version": "0.1.0",
  "deps": {
    "moonbitlang/wasm4": "0.2.0"
  },
  "readme": "README.md",
  "repository": "",
  "license": "Apache-2.0",
  "keywords": [],
  "description": ""
}
We need to modify the moon.pkg.json as follows to meet the requirements:
{
  "import": [
    "moonbitlang/wasm4"
  ],
  "link": {
    "wasm": {
      "exports": [
        "start",
        "update"
      ],
      "import-memory": {
        "module": "env",
        "name": "memory"
      },
      "heap-start-address": 6560
    }
  }
}
There are a few things to notice here:
-
We import the pacakge
moonbitlang/wasm4/libaswasm4, so we will be using the functions and types with@wasm4qualifier. -
We declare that we treat this package as a linking target for the Wasm backend with a few configurations:
-
We export functions
startandupdateas required by Wasm4. -
We import the Wasm memory to meet Wasm4's ABI, and the memory will come from module
envwith namememory. -
We define that the heap for MoonBit will be starting from 6560 to meet Wasm4's ABI. The space lower than 6560 (0x19a0) is reserved for Wasm4.
-
We modify the top.mbt correspondingly:
pub fn start() -> Unit {

}

pub fn update() -> Unit {

}
Now we can execute with:
moon build --target wasm
npx wasm4 run target/wasm/release/build/demo.wasm
Or you may execute with the debug mode if anything goes wrong and you'd like to see the stacktrace with function names:
moon build --target wasm -g
npx wasm4 run target/wasm/debug/build/demo.wasm
And the browser should open automatically with a game display. There's nothing moving now, so let's add something!
Example: Moving block
Let's draw a block on the screen:
pub fn start() -> Unit {

}

pub fn update() -> Unit {
  @wasm4.set_draw_colors(index=1, 2)
  @wasm4.rect(0, 0, 80, 80)
}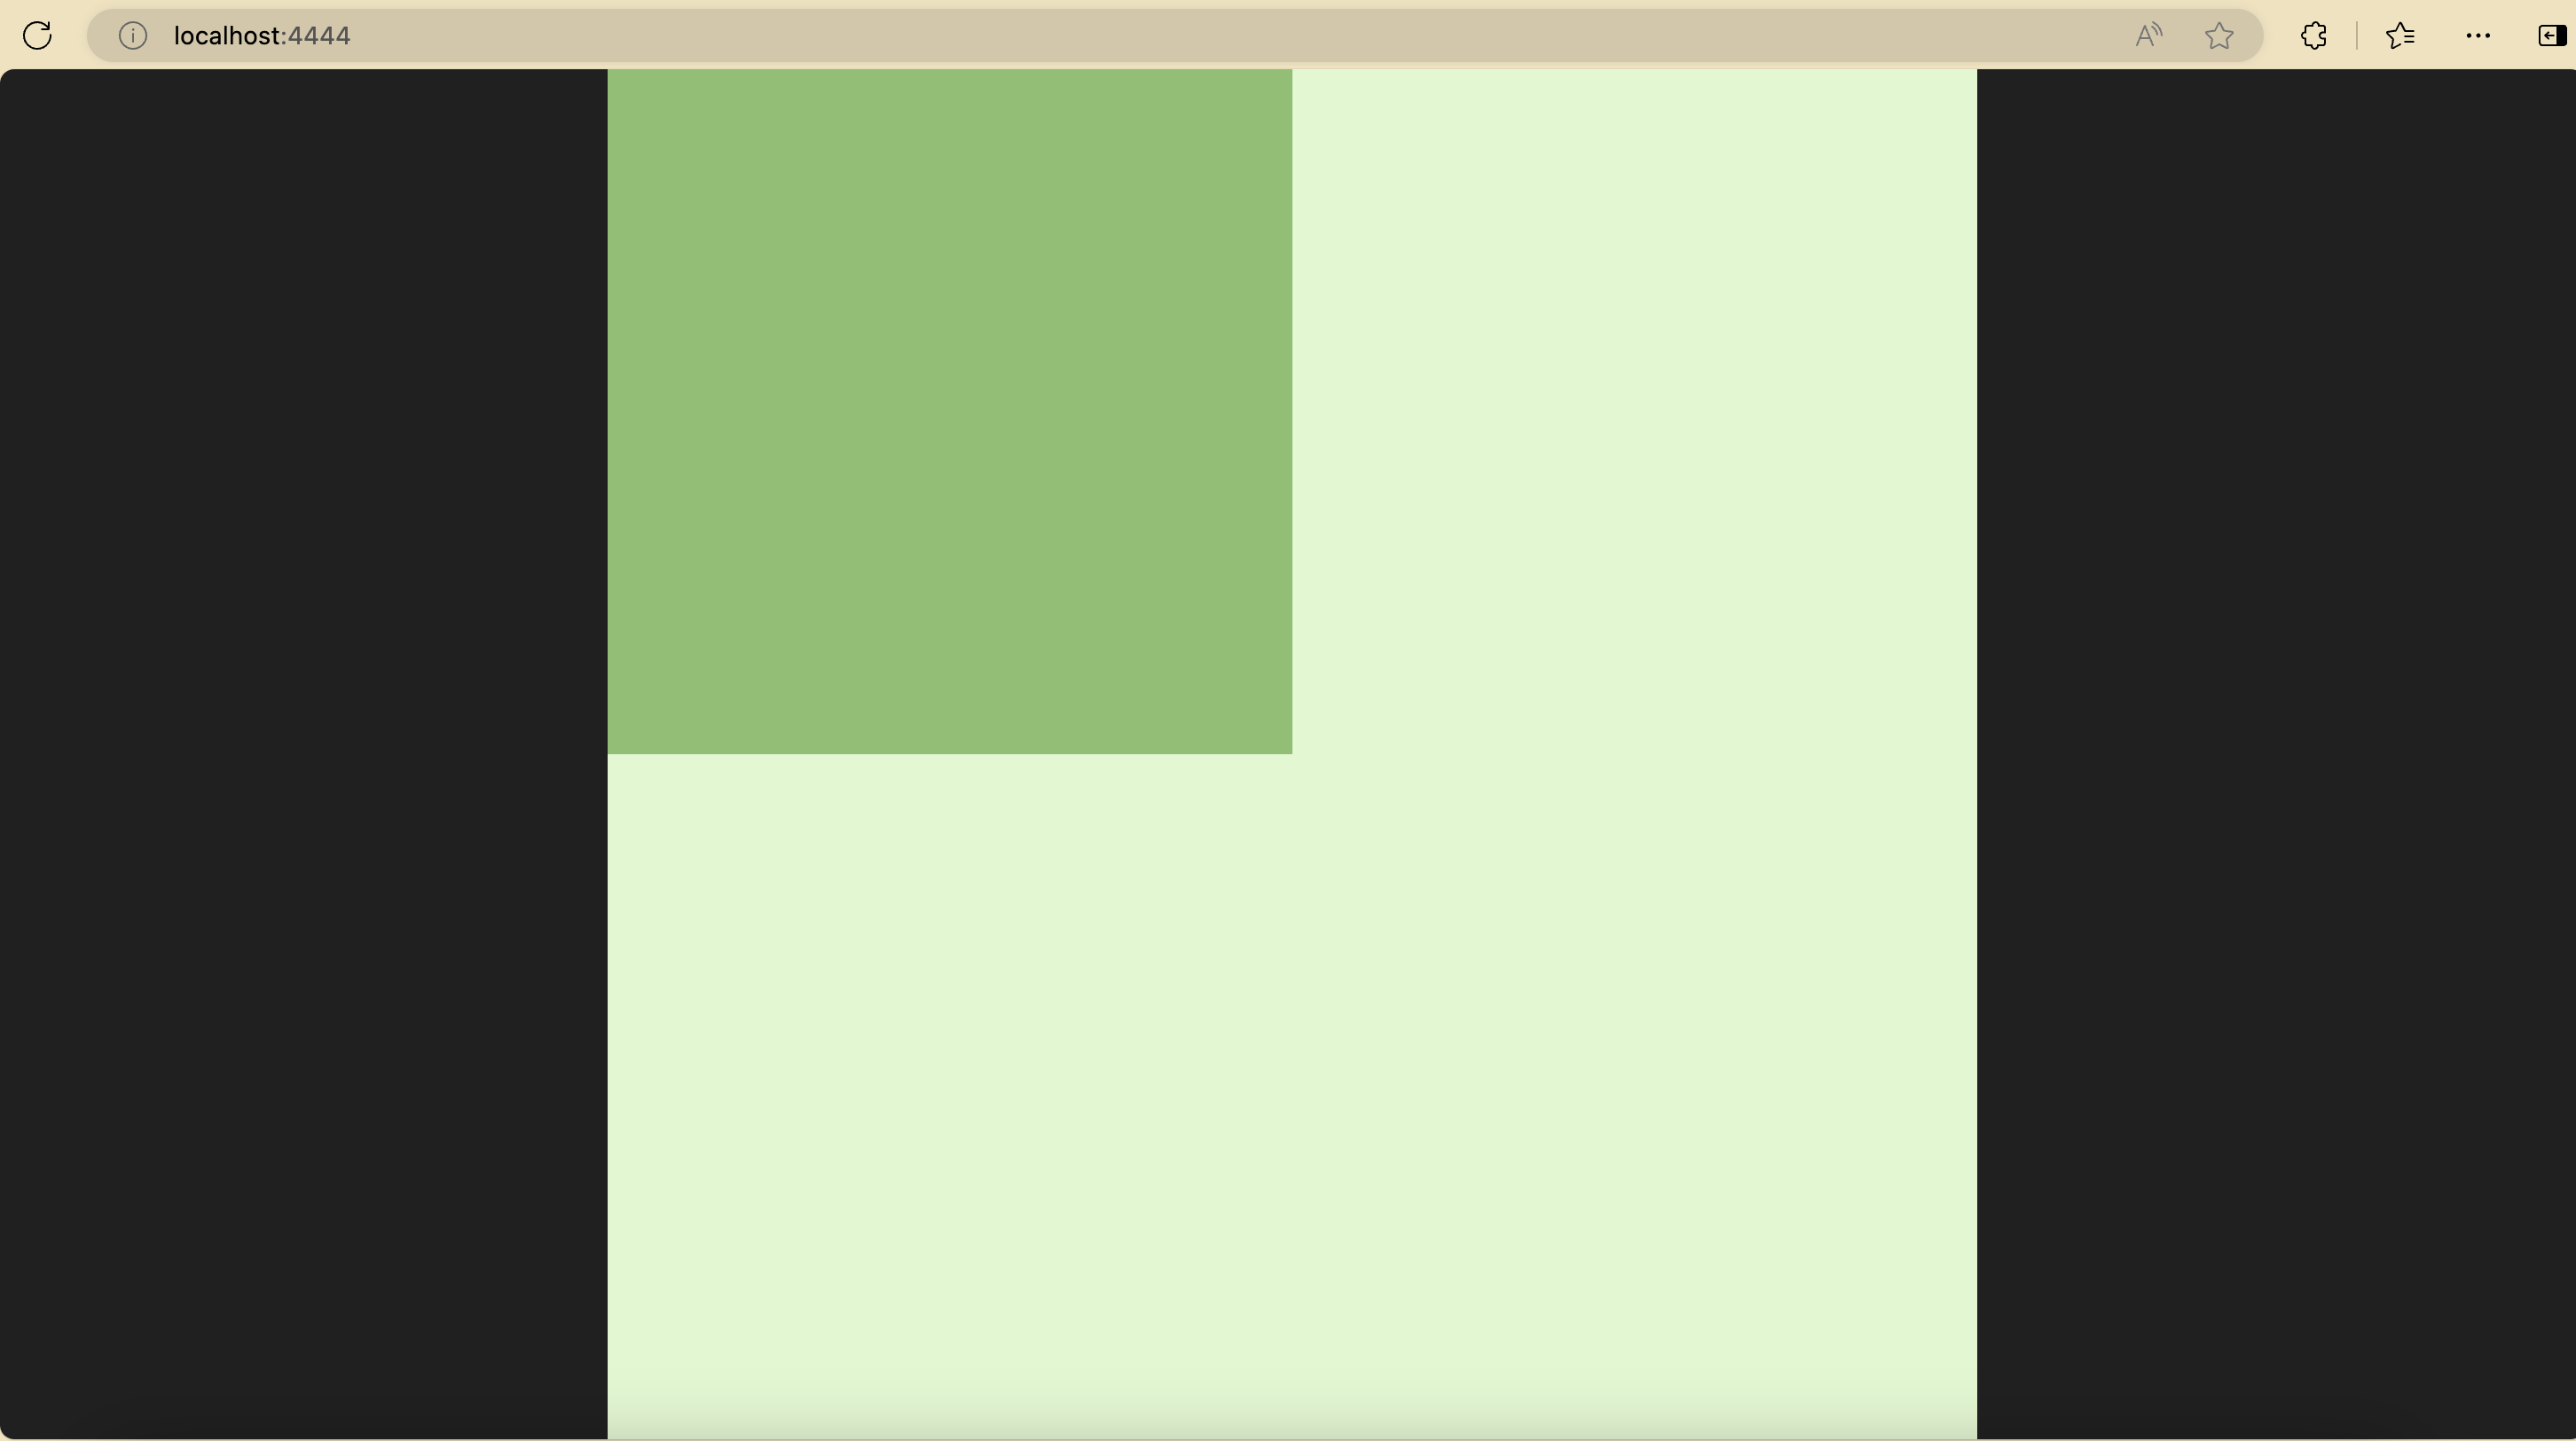
And this is what you may see. Wasm4 has four palettes and four drawing colors. Depending on the specific API, the corresponding drawing color will be used. What happens here is that we set the draw color 1 to the color of the 2nd palette, and then we drew an 80 x 80 rectangle starting from position (0, 0). Remember that the origin of coordinate of display is at the top left corner and that y-axis points downward in the world of programming.
The moonbitlang/wasm4 provides a high level abstraction so that you can write at ease. To avoid confusion, the indexes of draw colors and palettes start with 1. It is also possible to set each of the 160 x 160 pixels. Checkout the Wasm4 document and the SDK API for more information.
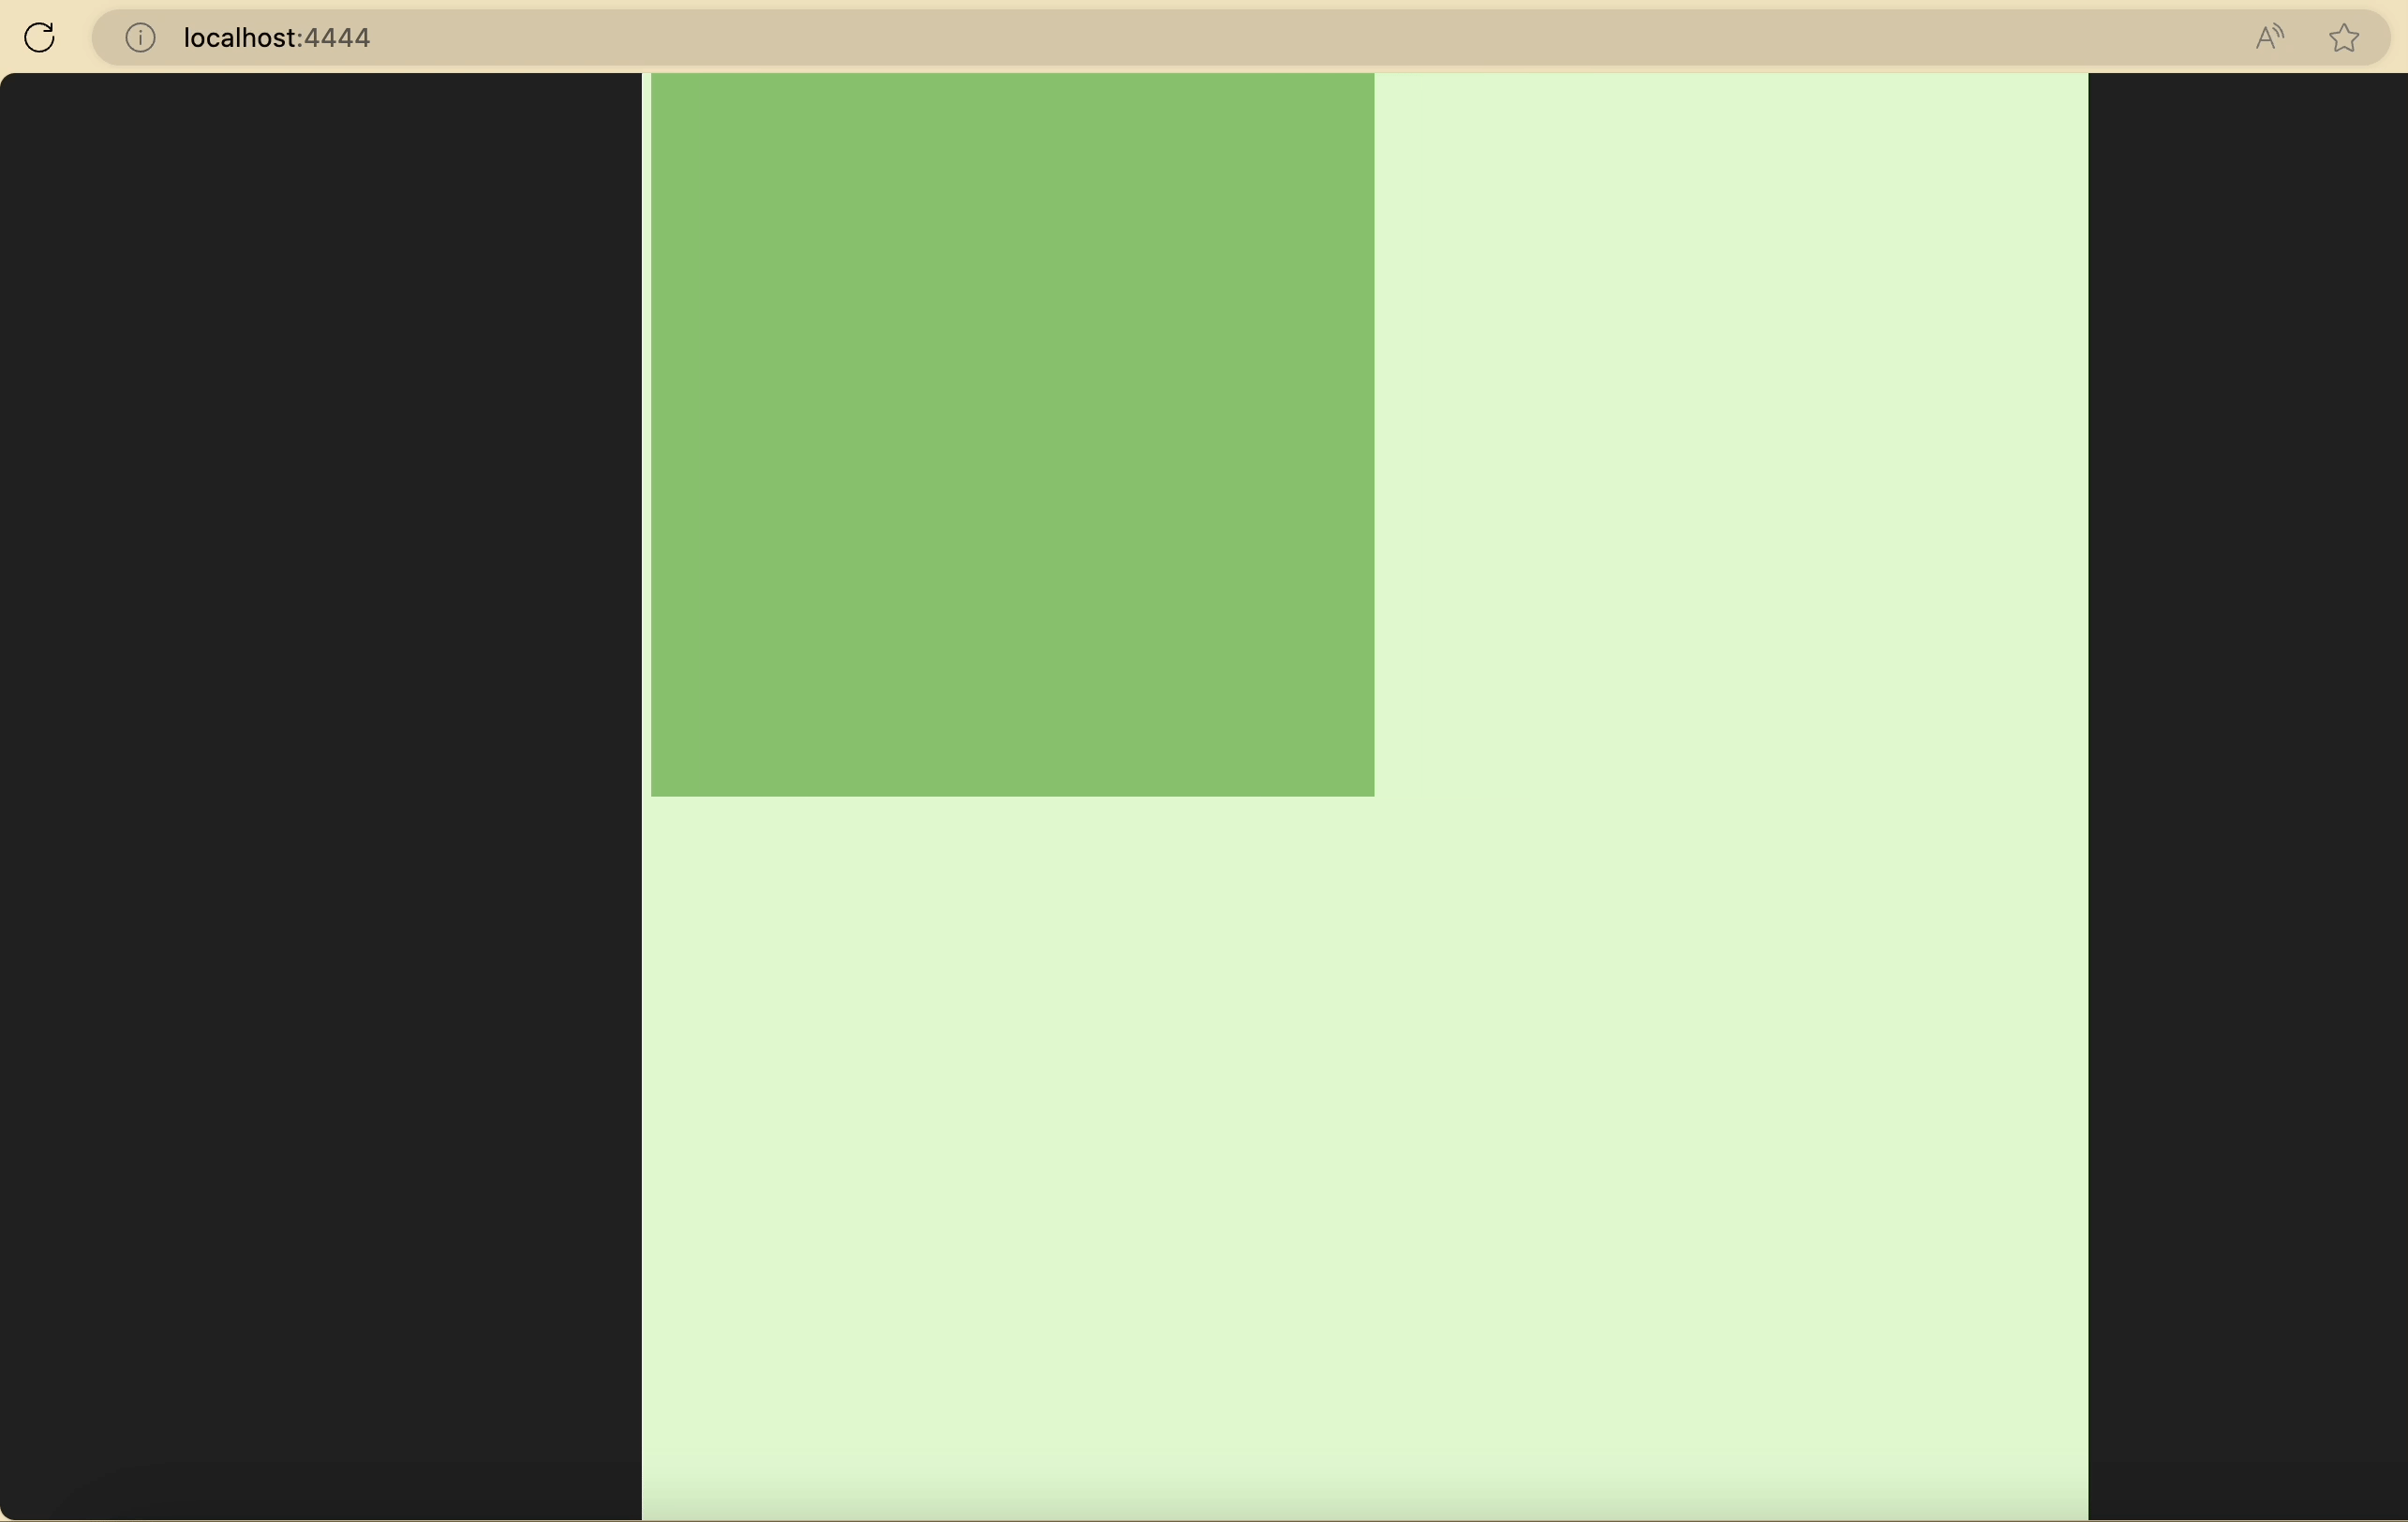
We now have a block that sits still. But we are developing a game, so we'd like to make it move. The start function will be called once during initialization, and the update function will be called at 60Hz. So we can write like this to make it move
struct Position {
  mut x : Int
  mut y : Int
}

let pos : Position = { x: 0, y: 0 }

pub fn update() -> Unit {
  if pos.x + 80 <= 160 {
    pos.x += 1
  }
  @wasm4.set_draw_colors(index=1, 2)
  @wasm4.rect(pos.x, pos.y, 80, 80)
}
And it will become (though much faster than the screenshot):
Reacting to User Inputs
A game will have to interact with the user somehow. And Wasm4 provides two buttons (X Z) in addition to four direction buttons. Let's try to move at your will!
pub fn update() -> Unit {
  if @wasm4.get_gamepad(index=1).button_right && pos.x + 80 < 160 {
    pos.x += 1
  } else if @wasm4.get_gamepad(index=1).button_down && pos.y + 80 < 160 {
    pos.y += 1
  } else if @wasm4.get_gamepad(index=1).button_left && pos.x >= 0 {
    pos.x -= 1
  } else if @wasm4.get_gamepad(index=1).button_up && pos.y >= 0 {
    pos.y -= 1
  }
  @wasm4.set_draw_colors(index=1, 2)
  @wasm4.rect(pos.x, pos.y, 80, 80)
}
More with development
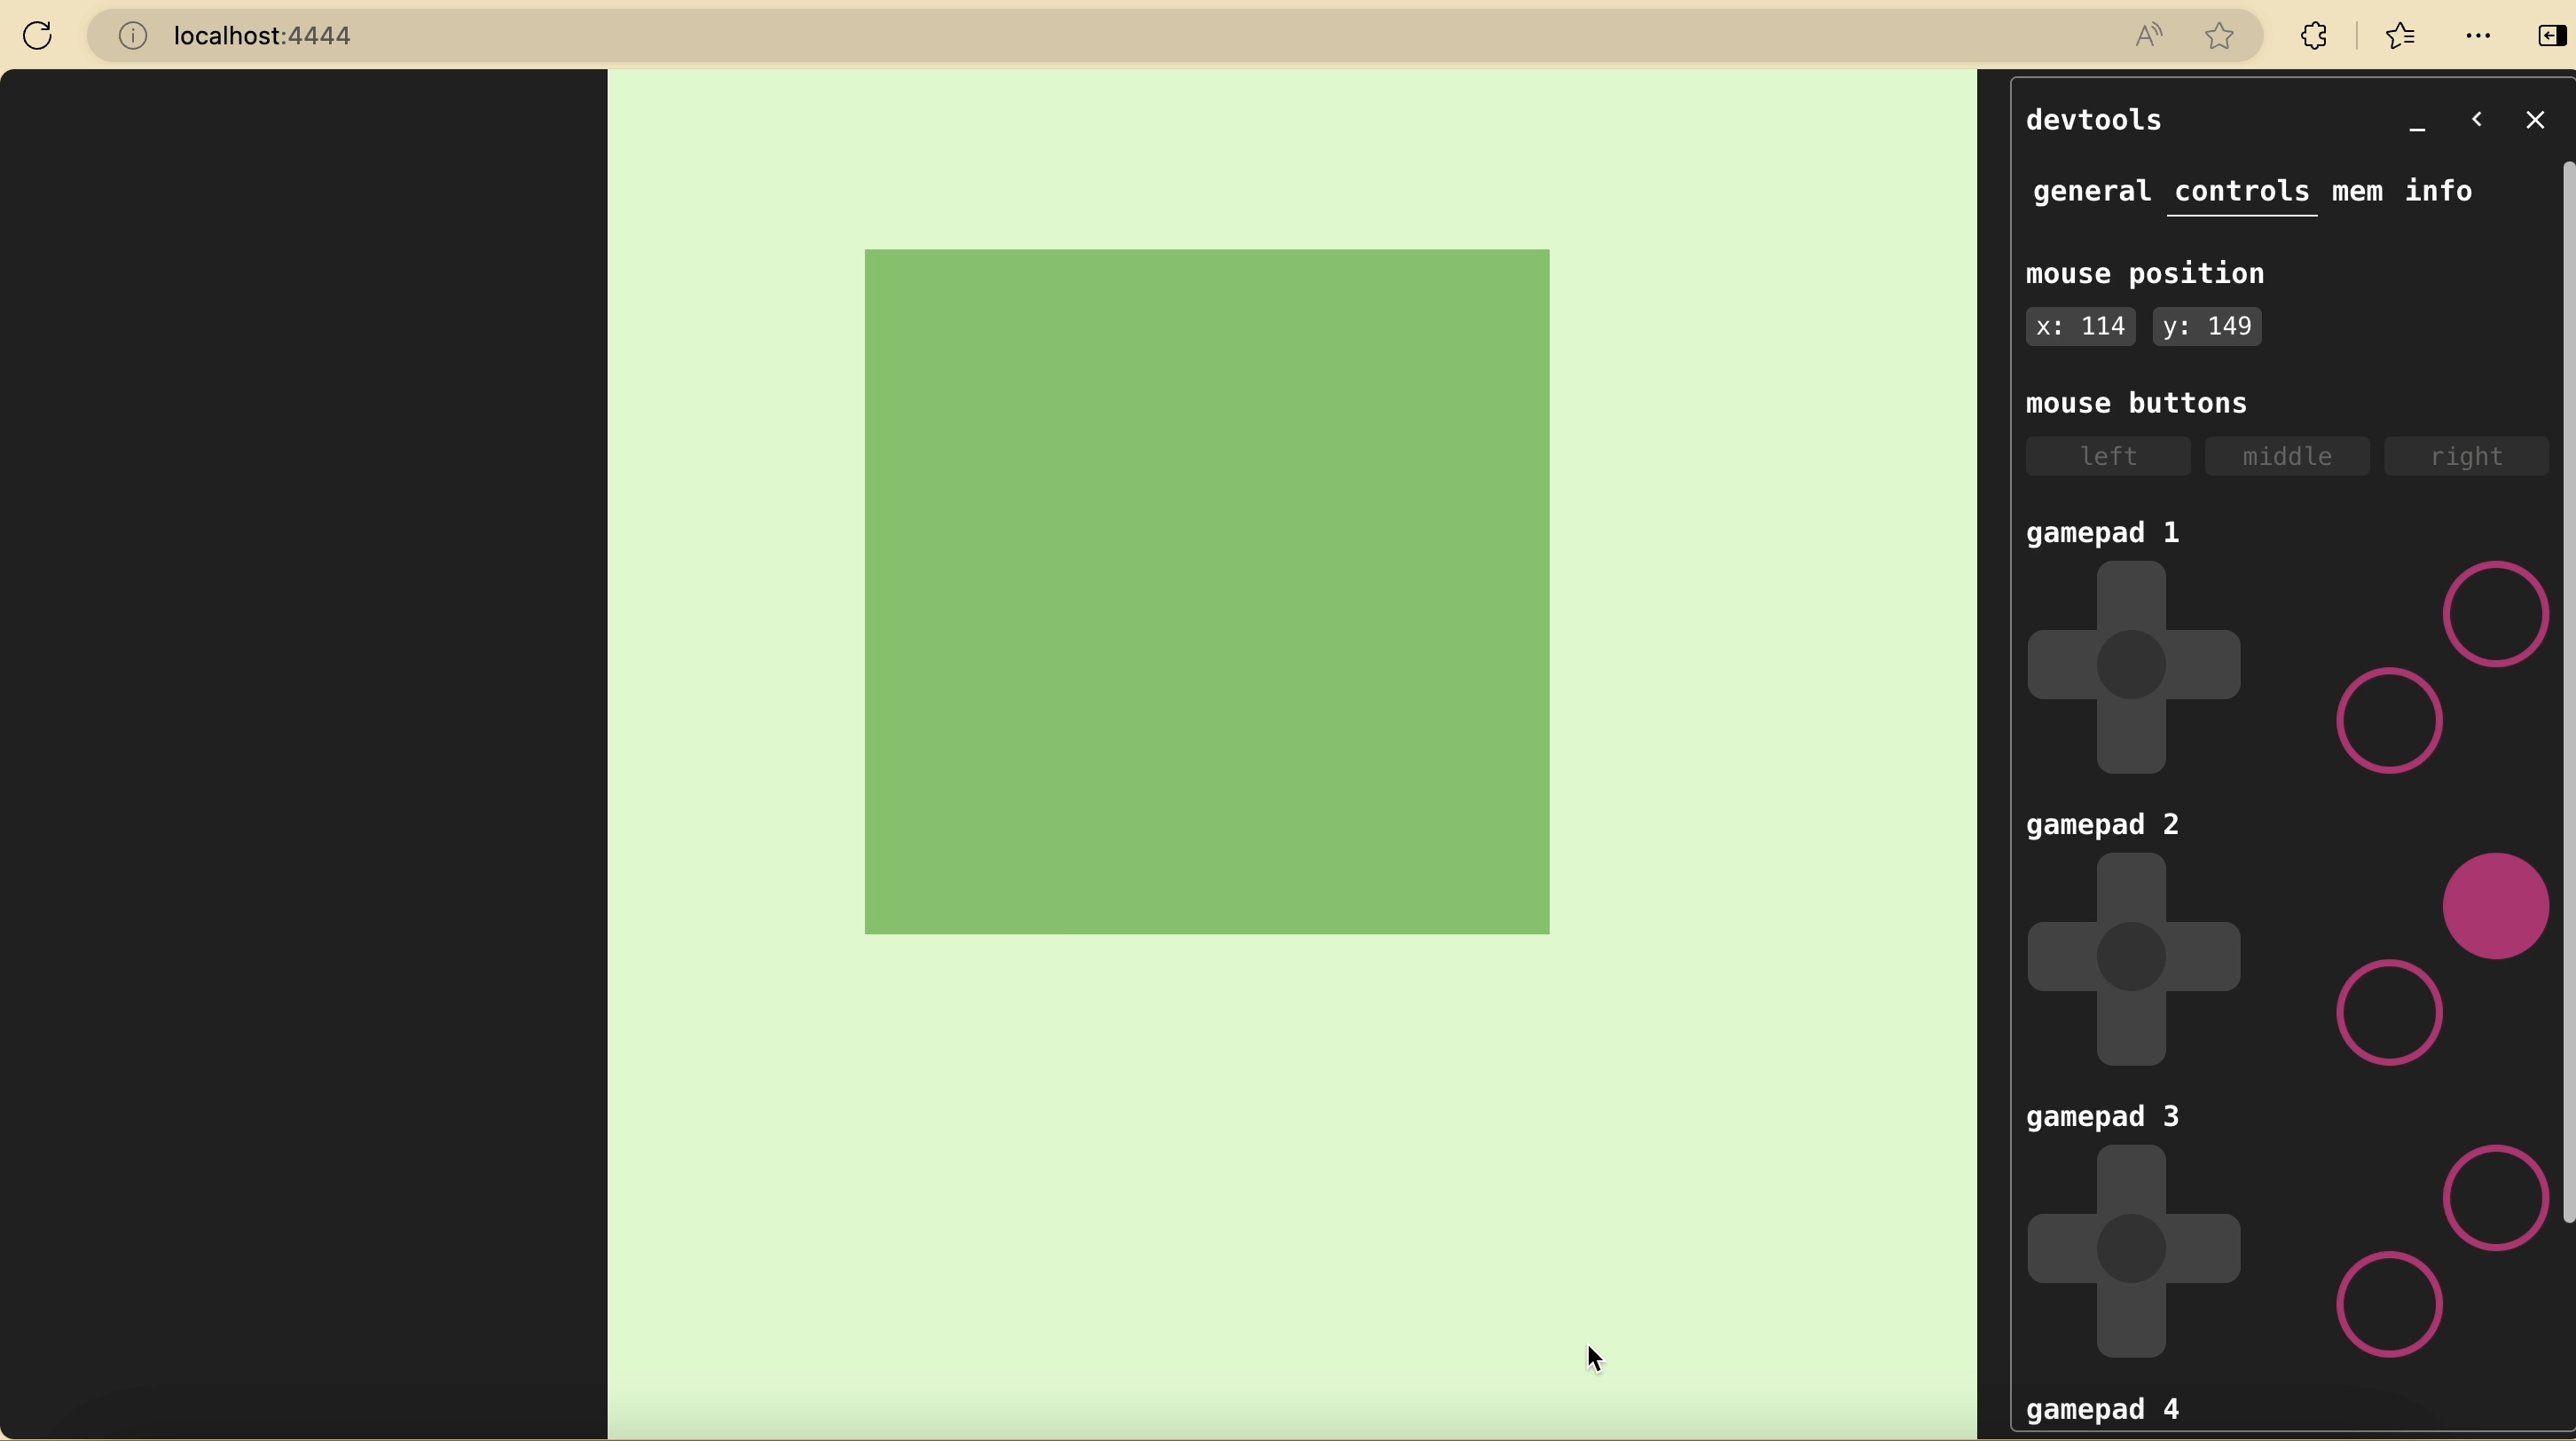
For debugging, you can use @wasm4.trace to write debug messages to the console. You can also press F8 to see the details of what is happening, as in the previous screenshot.
For publishing, you can execute npx wasm4 bundle --html game.html target/wasm/release/build/demo.wasm to generate a standalone HTML page. With a static file server, people will be able to enjoy the game you designed.
Notice that Wasm4 supports up to four players at the same time over network without extra configuration. This means you may be able to create your own snake duel of the Zenless Zone Zero and enjoy it with your friends! Check out the Wasm4 document and the SDK API for more information.
Conclusion
What are you waiting for? Try to develop with our gallery which supports live reload. Enjoy!
Additional resources:
- Get started with MoonBit.
- Check out the MoonBit Docs.
- Learn MoonBit with the open course.
- Join our Discord community.
- Explore MoonBit programming projects in the MoonBit Gallery.